How much have you thought about custom enclosures?
As engineers, our thoughts are consumed with finding solutions to problems we see in the world. However, finding a solution to a problem is only one small part of a much larger process of bringing a product to market.
Another part of this process is packaging your solution in some type of enclosure. Finding an enclosure solution that meets the goals of your application while staying inside of the project’s resource constraints can be a daunting task at first. in this article, I’ll share my experience and tips for doing just that.
Why do I need a custom enclosure?
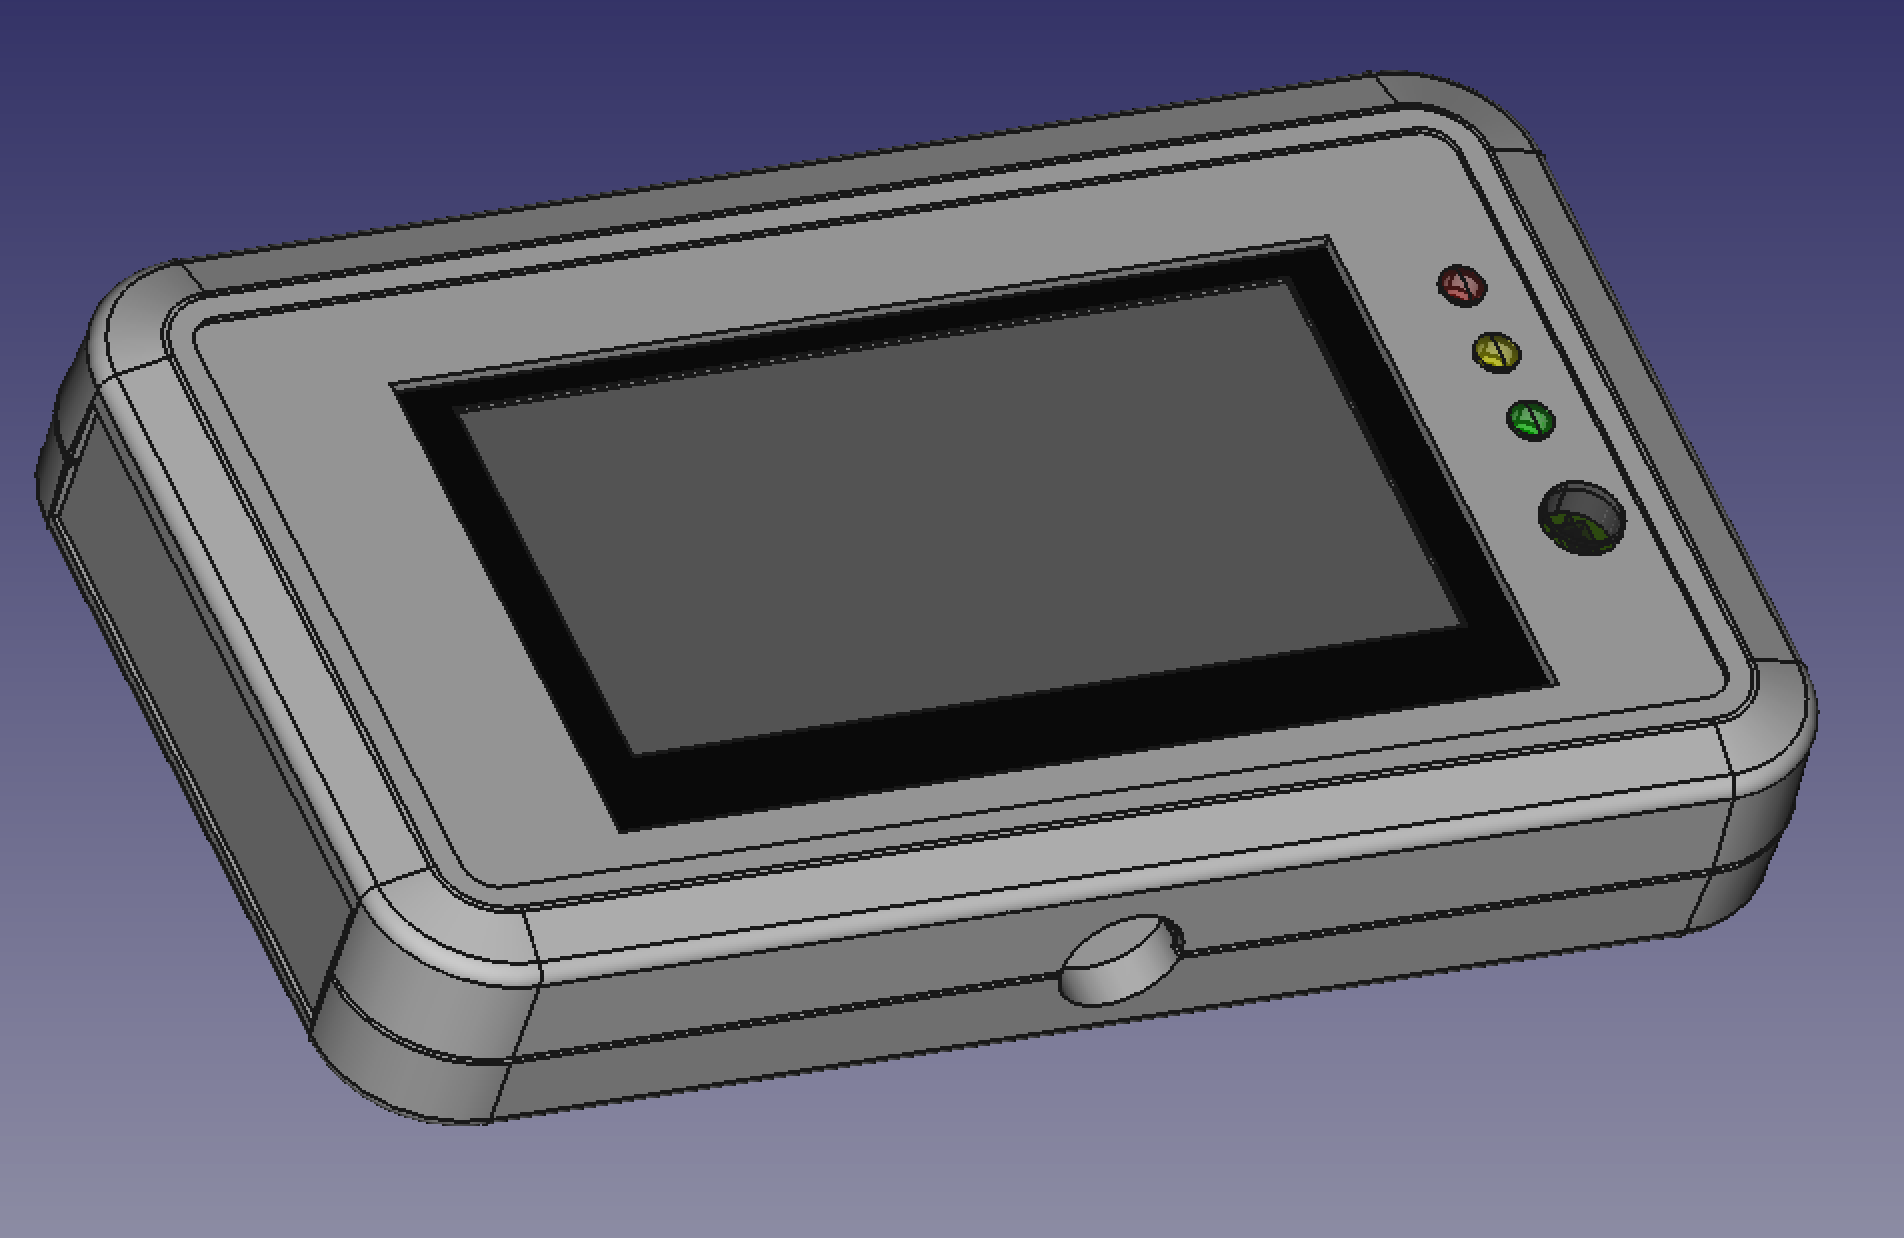
An enclosure takes your bare PCB and elevates it into a product. While useful PCBs are hot in the maker community, no end consumer customer would be comfortable interacting with a PCB. Consumers want a polished finished product. An enclosure is a great way to generate the product appeal you need to convince customers to buy your product. Enclosures can also give the consumer information about how to use your product by using printing and graphic overlays to guide users.
High-volume products often use completely custom enclosures. However, because of the resources involved in creating one, these are not practical for small and medium volume products. The solution we’ll investigate in this article is to use an off-the-shelf enclosure with customization. This is an easy way to get to a finished product without the huge time and financial investment of a fully custom design.
What options are available?
Off-the-shelf enclosures come in just about every size, shape, and material combination under the sun. Manufacturers can be found in the US as well as overseas. Ultimately though there are a few main buckets these cases come in:
- Plastic
- Extruded Aluminum
- Folded Metal
Plastic Enclosures

The lowest cost option is often an injection-molded plastic case. These enclosures can easily be customized and often come with features like mounting bosses for your PCB and built-in battery compartments. Some models even include environmental protection for applications that will spend their life outdoors.
Extruded Aluminum Enclosures
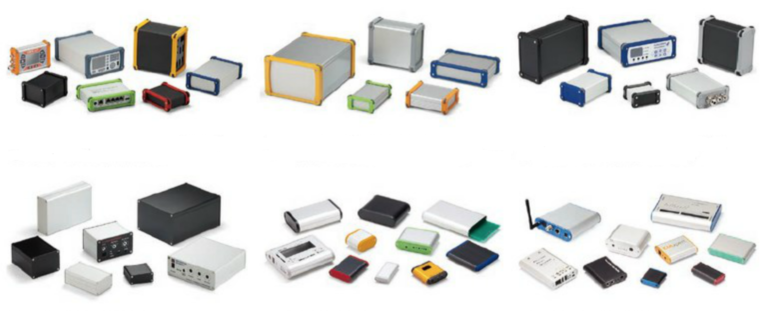
These cases can really step up the look and feel of a product but come at an increased cost. Aluminum enclosures can typically be customized in the same fashion as their plastic peers, but don’t have mounting bosses or battery compartments. Instead, typically PCBs are slid into rails formed in the aluminum extrusion. Environmental protection is available in some models, and some extruded cases can even be customized in overall size!
Folded Metal Enclosures
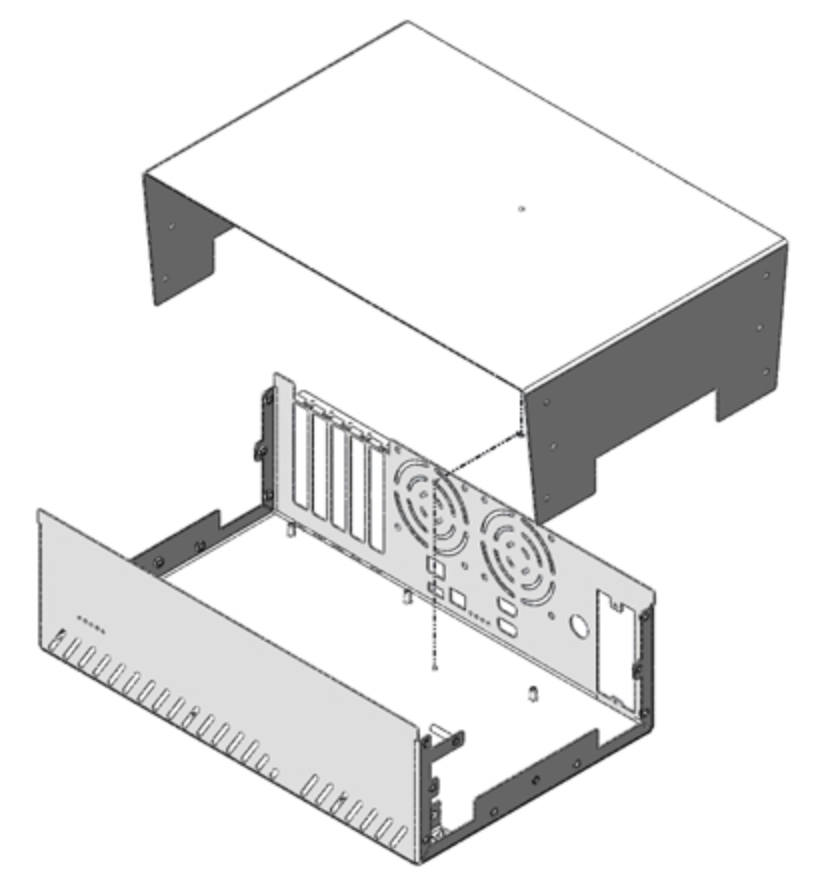
Remember your old desktop PC case from the ‘90s? It’s a great example of a folded metal case. These enclosures are formed from folded aluminum or steel sheet metal and typically have two or more pieces that screw together to form a box. For applications that have a larger physical footprint, these enclosures can be a cost-effective custom solution.
As mentioned earlier, there are many manufacturers that can help you build your dream enclosure. PCB manufacturers will work with you to find a company to build the best enclosure solution for your product. I recommend spending some time looking at each company’s off-the-shelf offerings to find one that works for you. Here are a few of the manufacturers I’ve worked with in the past:
- Takachi Enclosure: Overseas vendor of plastic and metal cases. They offer a wide variety of enclosures in various sizes and have excellent customization capability. Given that they are overseas, communication can be slowed by the time difference. Turnaround time on an order is slightly longer than US solutions, but pricing is very competitive.
- Polycase: US manufacturer of plastic cases and metal cases. With many models of enclosures and solid customization options, these guys are a great choice for turning around a design quickly.
- Protocase: US manufacturer of metal cases. These guys offer custom-sized extruded aluminum enclosures and the folded metal enclosures I referenced earlier. They also offer custom machining, printing, and powder coating.
How do I customize the case?
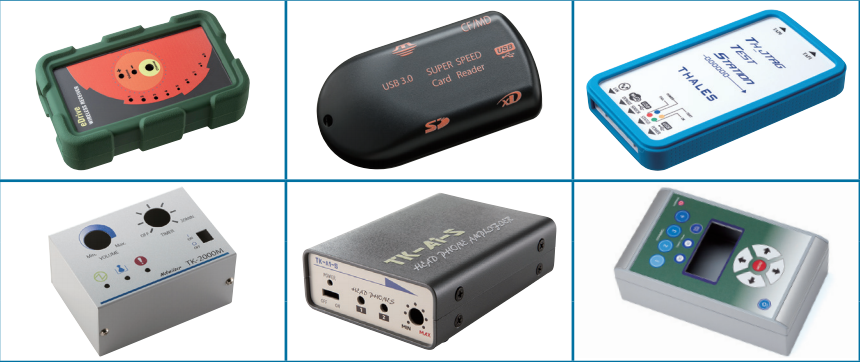
While blank off-the-shelf enclosures may look bland and boring on a website, you’d be surprised how easy it is to turn them into a professional-looking gadget. Enclosure manufacturers typically supply a list of customization services you can use to change a boring blank box into something beautiful.

Milling/Drilling – This is how holes are created in the case for connectors, buttons, and any other user-operable features. Typically, manufacturers request a dimensioned pdf or dxf drawing of the machine work to be done. Use the manufacturer-supplied drawings as a starting point for your drawings. Keep in mind the minimum radius of inside corners for milling is typically 1mm.
- Printing/Silkscreening – Inkjet or Silkscreen printing is typically used to print text or graphics on the outside of the case. Inkjet printing is capable of full-color graphics with little to no setup cost but has limitations on the surfaces it can print on. Silk screening can often be used for the areas inkjet printing can’t reach but has a higher upfront setup cost due to the need to generate screens.
- Graphic Overlays – This is another great way to provide your users with printed information on the product surface. These are printed and laminated plastic sheets that adhere to the surface of an enclosure. If you’re using some type of text or graphic display, you should definitely consider using one as areas of the overlay can be made transparent to serve as a window for your display.
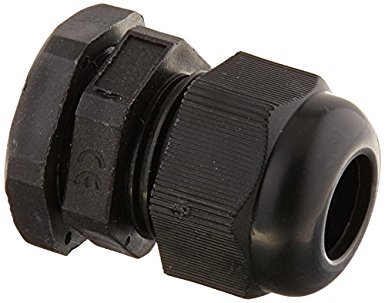
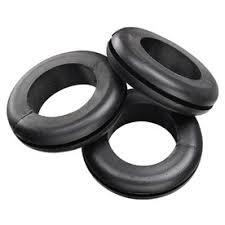
- Grommets/Cable Glands – These devices can be placed in previously machined holes to enable a clean routing of a cable through the enclosure wall. In addition to improving the look of the product, these devices can provide strain relief and environmental protection as well. Many of the manufacturers carry these parts, or they can be found through other vendors like McMaster-Carr.
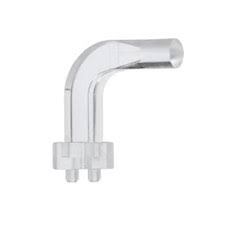
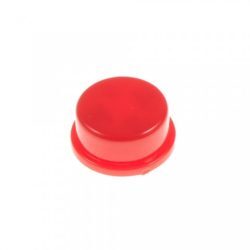
- Accessories – Many of the user interaction devices we put on PCBs can be enhanced through the use of accessories. Items like button caps and light pipes can go a long way toward making your product look and feel more valuable.
What should my design flow look like?
When you intend to package a PCB in a case, planning for the enclosure needs to be included in the design flow very early. By thinking about how the PCB fits into the enclosure early and often, time-consuming mistakes later in the process can easily be avoided.
- Schematic Design – Start by completing the full schematic of the design. Every connector and capacitor should be present and accounted for as well as every component having an accurate footprint. If you have user interaction components that will use accessories like buttons or LEDs, pick out and create footprints for these accessory items as well. It doesn’t hurt to create schematic symbols for them so they are tracked as part of the BOM.
- Layout Floorplan – This is a very rough first pass on the layout of the actual PCB. Group components that are associated with each other and try to minimize the crossing of air wires. Place any UI components approximately where they need to be for your design as well as any connectors. The goal here is to figure out the minimum XY size needed to encompass your design.
- Enclosure Shopping – With your rough measurements start looking online for enclosures that meet your design goals. I like to start by finding a family of cases that meet my requirements and come in multiple sizes. This gives me some wiggle room later if I need more or less space as the design cycle continues.
- Import Drawings – Now that you have a case picked out, you can start on the actual layout. Use the manufacturer-provided drawings of the case and import them into your layout tool at a 1:1 scale. This makes it easy to draw the board outline and add holes for any mounting bosses present in the case.
- Complete Layout – Go ahead and continue laying out your board as you normally would. Try to build in some wiggle room to adjust the fit and finish of the board in the case. Do all your normal ERC and DRC checks. Boards can be ordered when the layout is done. I prefer to wait until I do some 3D modeling of the PCB with the case to double-check fitment.
- 3D Modeling – Most enclosure vendors will supply you with 3D models of their products (although some may require you to sign an NDA). Combine this with a model of your PCB and this can be a powerful pre-production tool you can use to double-check your design. You can often also find 3D models of items like cable glands and button caps online that you can use to complete your model. Be sure to keep an eye on components with above-average Z-axis heights. As PCB people we often fixate on the XY dimensions, but the Z becomes important when fitting items in a case.
- Production Drawings – If your enclosure has any form of modification, you’ll need to supply production drawings to the manufacturer of these modifications. These drawings can be done in any tool. I’ve used both PCB layout and 3D modeling software in the past to generate these drawings. Any holes or milling needs to be fully dimensioned from an obvious point on the enclosure (I typically use the edges of a case). In addition to machining drawings, you’ll also want to supply the vendor with high-resolution images of any printing, silk screening, and/or overlay. I like to supply these in a 1:1 scale in either PDF or AI format.
- Place your orders! – Place your orders for your PCBs, enclosures, and accessories. Don’t forget small items like screws or standoffs you may need to complete the design.
Conclusion
Designing your PCB into an affordable enclosure can be challenging, but it’s a necessary evil for anyone bringing their ideas to market. Much like any other engineering process, it’s one that requires thought, planning, modeling, and iteration. Keep an open mind and be creative during the process and you too will be creating great enclosures in no time!
Want to know more? Learn about popular ways to attach PCBs inside enclosures and on other flat surfaces; read our blog about mounting holes.
Ready to get started?